I have recently been trying to catalogue and organise all of my cooking and baking books when I stumbled across a recipe for French Fancies. As much as I love a French Fancy the thought of actually attempting to make them filled me with terror. I had a look at a few different online tutorials and written recipes and mustered up the courage to have a go.
Whilst the finished product isn't exactly a French Fancy that the infamous Mr Kipling would be trying to pass off as his own, they were totally scrumptious.
Below is my own tweaked recipe for our take on the classic French Fancy - 'The Not So French Fancy!'
You will need:
For the sponge - 20cm square baking tin
Grease proof paper
Self raising flour
Caster sugar
Unsalted butter
4 eggs
For the butter cream - Unsalted butter (softened)
Icing sugar
For the icing - Apricot jam
Marzipan
Royal icing
Water
Food colouring
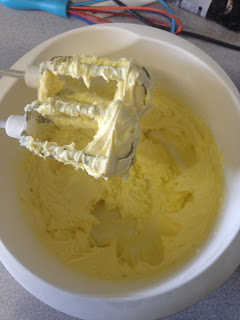
First things first, grease and line your baking tin then make the sponge. Cream the butter and sugar together until light and fluffy then beat in the eggs one at a time.


To keep your sponge nice and fluffy,using a metal spoon, gently fold in the flour a little at a time. Doing it this way will ensure you keep as much air in the mixture as possible.

Once all ingredients are combined pour the mixture into the baking tin and bake in the middle of the oven at gas mark// for about 40 mins or until soft but firm to the touch.


Once cooked, remove from the oven and allow to cool on a wire rack. Once completely cooled put in the fridge to chill for 20 mins.

While the cake is cooling, make up the buttercream. Cream the icing sugar and softened butter together until light and fluffy then put about 1/4 of the buttercream into a piping bag and leave the rest in the bowl.


Roll out the marzipan so that it is the same size as the cake. *TOP TIP* use the base of your baking tin as a template to cut the marzipan to the right size. Melt the apricot jam so it can be brushed easily.


Remove the cake from the fridge and cut the top horizontally so that it is level when turned over.
Brush the top of the cake with the melted apricot jam and then carefully lay the marzipan on the top trimming any excess.

Using a ruler and knife measure and gently mark out 25 4x4cm squares. Once happy with your squares cut the cake using your guide.


Using the buttercream in the bowl, cover the 4 sides of the cubes leaving the top and bottom plain. Once you have covered all of the cubes use the buttercream in the piping bag to pipe a dollop on the top of each of the cubes(on the marzipan).


Put the cubes into the fridge to chill for a further 20 minutes. While the cubes are in the fridge make the icing.
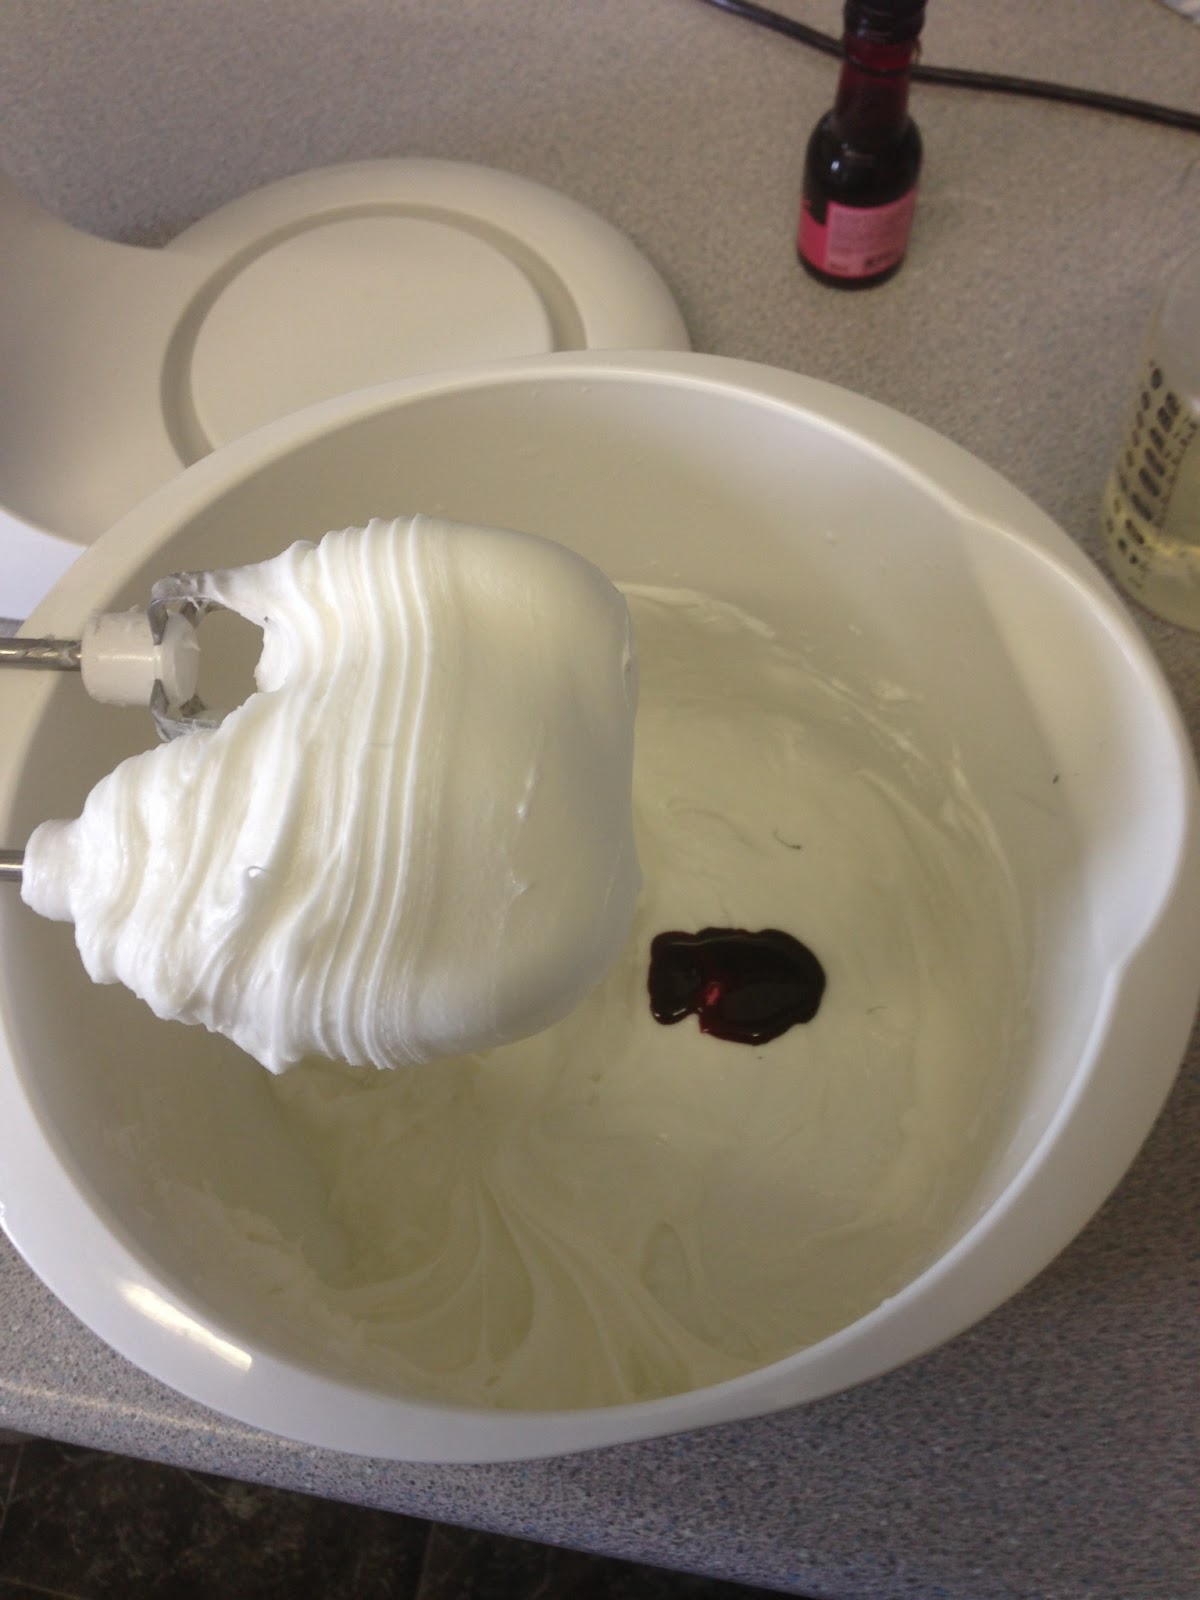
Cut the royal icing into cubes and place in a blender or mixing bowl. Add a little water and start to mix or blend. Put a couple of drops of your chosen food colouring into the bowl and continue to mix. keep adding the water and mixing until you have a fluid but thick consistency. once happy with the icing mix remove the cubes from the fridge.
Pick up the cubes, one at a time by pricking them with a fork at the base and dip them into the icing mix. Coat all of the cubes and then put them back on the wire rack and back in the fridge to set.
Once the icing has set you can either melt some chocolate and drizzle over the top of each cube or make up some white or coloured icing sugar and drizzle that over the top(that wasn't possible in our house because as soon as the icing had begun to set they were devoured!!!)

Yes this is quite a lengthy process but definitely worth it :-)
M xx
No comments:
Post a Comment