Showing posts with label recipe. Show all posts

Tuesday, 27 October 2015

Chocolate Covered Marshmallows

The week before any school holiday I always find to be quite hectic and last week was definitely no exception. 
Meet the teachers, open classes, trip meetings, black history social evening, tracking day and more, so when my 6 year old reminded me that there was a PTA cake sale and I needed to make something I knew I needed a quick and easy recipe. 

A little while back I made chocolate marshmallows with little monster and I knew these would be the quickest and simplest thing to make.

I haven't included measurements as you will be able to judge how much you need based on how many you want to make.

You will need
Marshmallows
Cooking chocolate
Bamboo skewers(yes that really is it!)


What to do
Thread 3 or 4 marshmallows(depending on size) on each bamboo skewer until you have the desired amount


Melt the chocolate (you can either do this in a microwave but make sure you stop and stir it every 10 seconds or so or you can melt it in a bowl over simmering water)

Once the chocolate is melted, give it a good stir then start to coat all of the marshmallow skewers in the chocolate.


Lay on a sheet of baking paper until completely dry and hard. 
We had some sprinkles in the cupboard so added those before the chocolate dried.


That's all there is to it. 3 items and 3 steps and you have a sellout treat(these sold out at our cake sale in less than 3 minutes)

Have fun!

Tuesday, 25 March 2014

Yummy Scrummy Apple Crumble Recipe

Yesterday little monster and I had fun in the kitchen making apple crumble. Here is our completely fool proof recipe.
I have included the quantities that we used but once you've made this once or twice you can adjust the amounts to suit your own taste.

You will need
For the crumble
300g plain flour
155g brown sugar
200g unsalted butter, cubed

For the filling
400g peeled and chopped cooking apples
50g brown sugar
1tbsp flour
1tsp ground cinnamon

What to do
Mix the flour and brown sugar together in a large mixing bowl. Add the butter 1 cube at a time and rub through your fingers until the flour mixture resembles breadcrumbs.
                               

Once the apples have been chopped up place them in a bowl and carefully mix with the brown sugar, flour and cinnamon. Try to avoid breaking up the fruit when mixing.

Grease an oven proof dish, then spoon the fruit into the base. Sprinkle the crumble mix over the top of the fruit but do not pat it down.

Bake in the oven at gas 4/350F/180C for approximately 40 minutes or until the crumble is golden brown and the fruit is bubbling.

Serve with fresh cream or warm custard and enjoy!

M xx

Friday, 15 November 2013

Little Monsters Cinnamon Whirls

I'm enjoying just how much little monster wants to bake and as it's part of his learning at school this term, what better excuse!

Here is his recipe for Cinnamon Whirls (in his own words!)

You will need
Puff pastry
75g butter
75g sugar
3 tbs ground cinnamon
A pinch of grated nutmeg
Raisins
Egg
Icing sugar 
Glacé cherries

1- Mix the butter and sugar together until it's all smooth and fluffy.

2- Then you have to mix the cinnamon and grated nutmeg in really well.

3- You have to roll the puff pastry out into a rectangle shape then brush on the creamy butter with cinnamon in it.


4- Sprinkle all the yummy raisins all over the pastry.


5- Roll the pastry into a sausage shape( from the short side)

6- Put it in the fridge and let it get cold for 20 mins.

7- Take the pastry out of the fridge and cut it into 2cm thick slices.


8- Put the slices on a greased baking tray leaving gaps because the pastry grows.

9- Brush with the egg and get an adult to put the tray in the oven.

10- While they're cooking make up the icing sugar into a thick paste.

11- After 25 mins take the cinnamon whirls out of the oven and let them cool down.

12- When they are cool drizzle with the icing sugar paste and finish with a cherry on the too.


They're yummy!

Sam and M xx

Monday, 17 June 2013

A Fanciful Idea!

I have always found baking to be therapeutic and satisfying and finding new recipes or trying out new ideas has always pleased the entire family.

I have recently been trying to catalogue and organise all of my cooking and baking books when I stumbled across a recipe for French Fancies. As much as I love a French Fancy the thought of actually attempting to make them filled me with terror. I had a look at a few different online tutorials and written recipes and mustered up the courage to have a go.

Whilst the finished product isn't exactly a French Fancy that the infamous Mr Kipling would be trying to pass off as his own, they were totally scrumptious.

Below is my own tweaked recipe for our take on the classic  French Fancy - 'The Not So French Fancy!'

You will need:
For the sponge - 20cm square baking tin
                           Grease proof paper
                           Self raising flour
                           Caster sugar
                           Unsalted butter
                           4 eggs

For the butter cream - Unsalted butter (softened)
                                    Icing sugar

For the icing - Apricot jam
                      Marzipan
                      Royal icing
                      Water
                      Food colouring

First things first, grease and line your baking tin then make the sponge. Cream the butter and sugar together until light and fluffy then beat in  the eggs one at a time.


To keep your sponge nice and fluffy,using a metal spoon, gently fold in the flour a little at a time. Doing it this way will ensure you keep as much air in the mixture as possible.


Once all ingredients are combined pour the mixture into the baking tin and bake in the middle of the oven at gas mark// for about 40 mins or until soft but firm to the touch.


Once cooked, remove from the oven and allow to cool on a wire rack. Once completely cooled put in the fridge to chill for 20 mins.


While the cake is cooling, make up the buttercream. Cream the icing sugar and softened butter together until light and fluffy then put about 1/4 of the buttercream into a piping bag and leave the rest in the bowl.


Roll out the marzipan so that it is the same size as the cake. *TOP TIP* use the base of your baking tin as a template to cut the marzipan to the right size. Melt the apricot jam so it can be brushed easily. 


Remove the cake from the fridge and cut the top horizontally so that it is level when turned over.

Brush the top of the cake with the melted apricot jam and then carefully lay the marzipan on the top trimming any excess.


Using a ruler and knife measure and gently mark out 25 4x4cm squares. Once happy with your squares cut the cake using your guide.


Using the buttercream in the bowl, cover the 4 sides of the cubes leaving the top and bottom plain. Once you have covered all of the cubes use the buttercream in the piping bag to pipe a dollop on the top of each of the cubes(on the marzipan).


Put the cubes into the fridge to chill for a further 20 minutes. While the cubes are in the fridge make the icing.

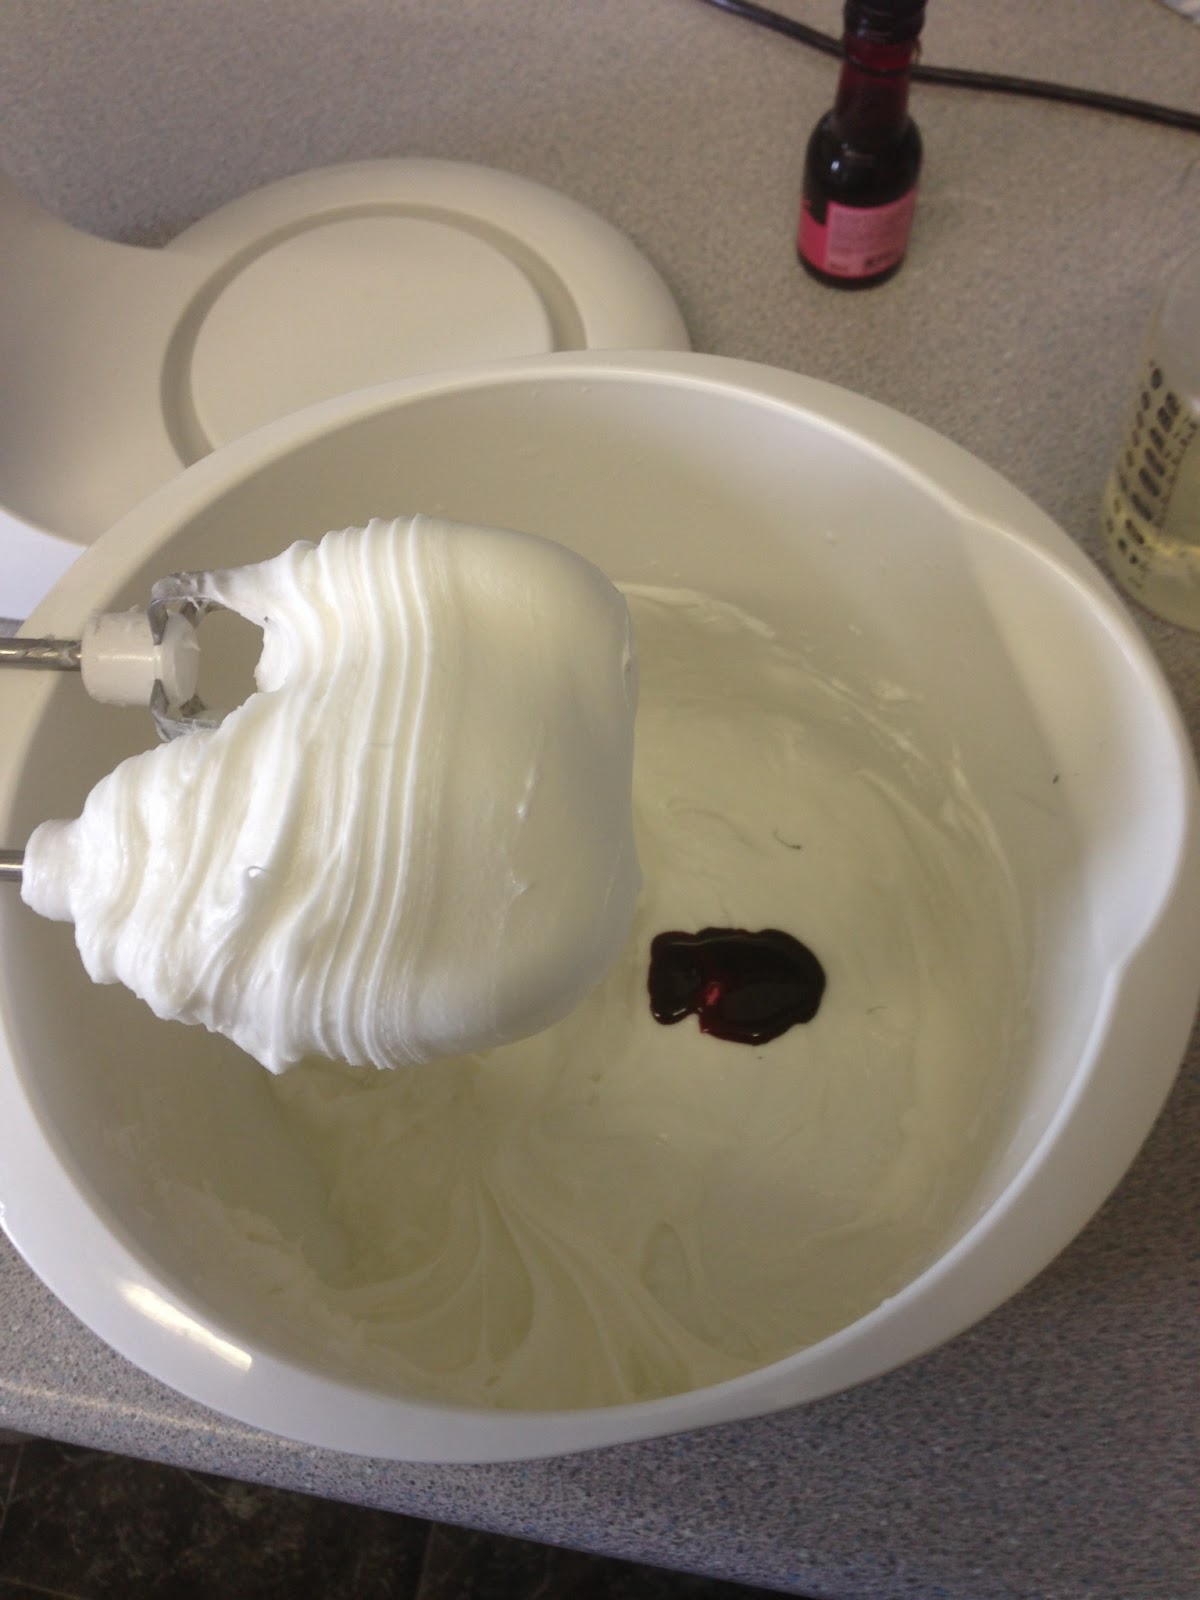
Cut the royal icing into cubes and place in a blender or mixing bowl. Add a little water and start to mix or blend. Put a couple of drops of your chosen food colouring into the bowl and continue to mix. keep adding the water and mixing until you have a fluid but thick consistency. once happy with the icing mix remove the cubes from the fridge.


Pick up the cubes, one at a time by pricking them with a fork at the base and dip them into the icing mix. Coat all of the cubes and then put them back on the wire rack and back in the fridge to set.

Once the icing has set you can either melt some chocolate and drizzle over the top of each cube or make up some white or coloured icing sugar and drizzle that over the top(that wasn't possible in our house because as soon as the icing had begun to set they were devoured!!!)


Yes this is quite a lengthy process but definitely worth it :-)

M xx

Monday, 10 June 2013

An Easy Salsa Recipe

Hey guys

Check out my super easy, super quick tutorial on how to make a 4 ingredient salsa here 

M xx